Setary makes it possible to bulk update products and variations. Every product and variation is listed in a spreadsheet format, creating a familiar and straightforward environment for managing your WooCommerce products.
Product Rows and Columns
Every product in your WooCommerce store is listed in its own row within the Setary app. this includes product variations.

Each product field — for example, Price, Stock Quantity, or Product Name — in Setary is listed in a separate column.
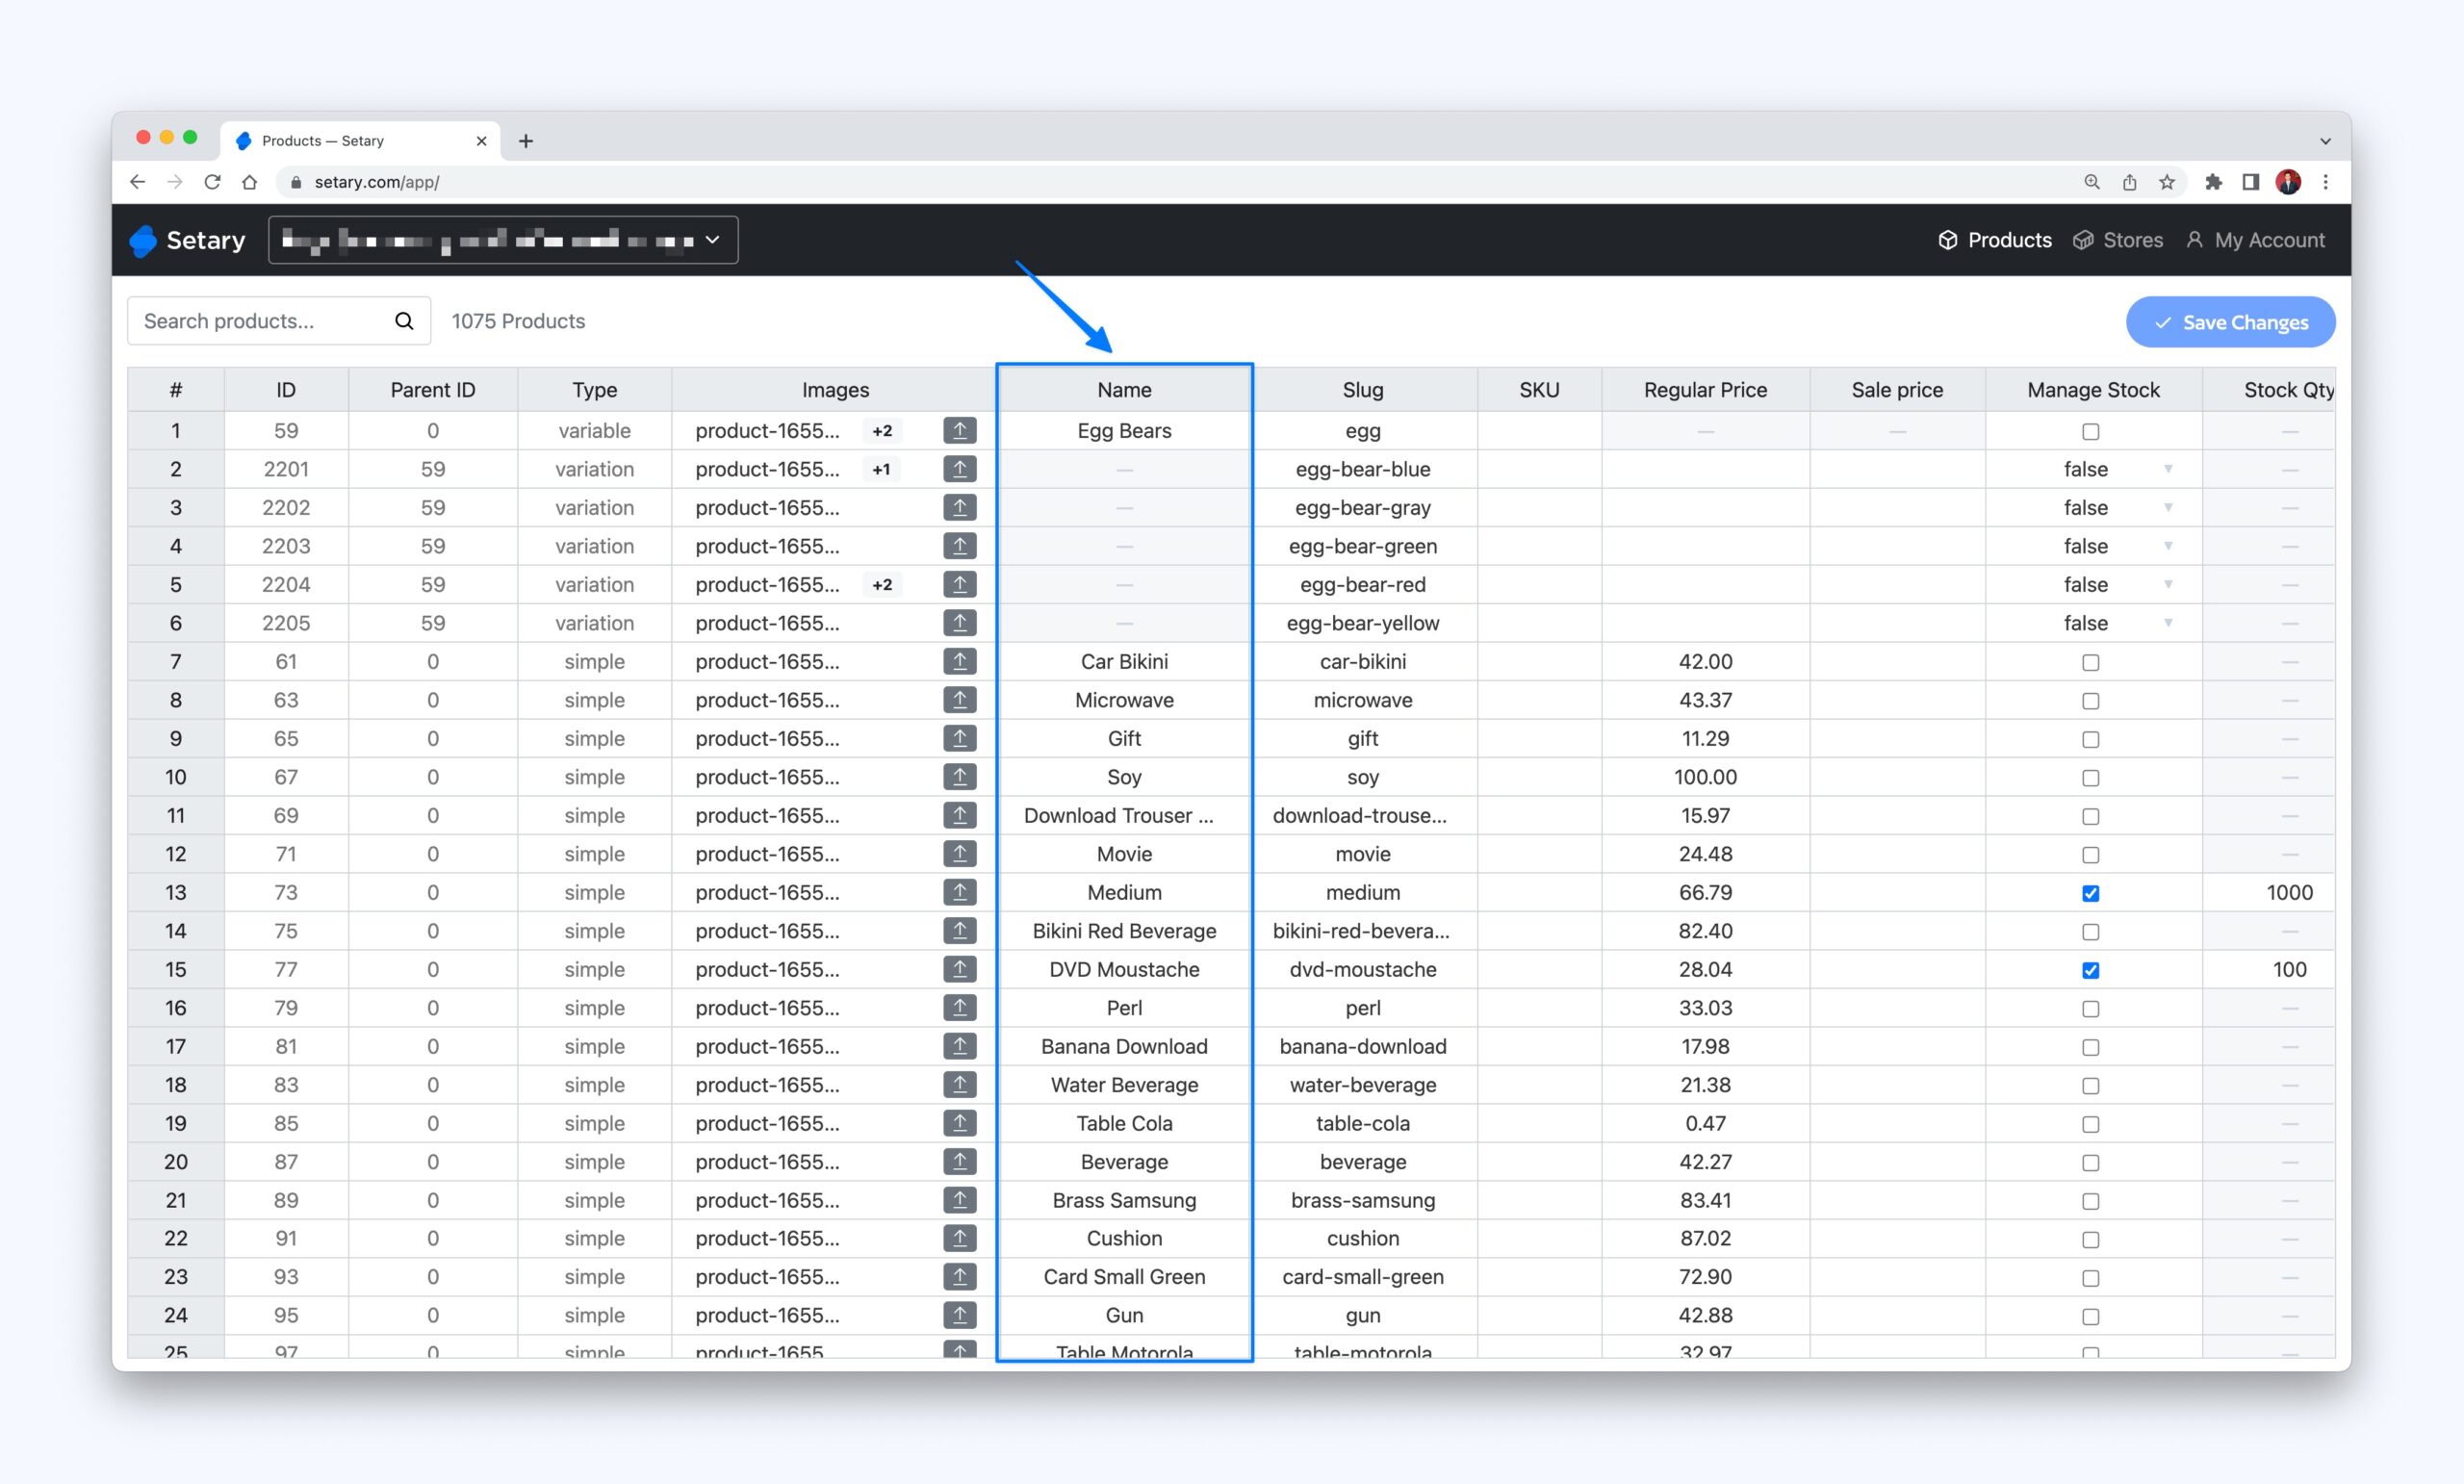
This combination of rows and columns makes it possible to determine which product you are editing, and what “type” each product is.
Some of the columns that will help you to identify products are:
- ID — Use the ID column to determine the product ID.
- Parent ID — If the product is a variation, this will be the ID of the parent, or main, variable product.
- Type — This column will denote what type of product this row is. For example, simple, variable, or variation.
- SKU — This column will list the product’s SKU or unique identifier.
Using these default columns will make it easier for you to define which products you are editing and updating.
Editing Your First Products
The majority of cells in Setary are “text” and “number” fields. For example, the Product Name, SKU, and Price.
In order to edit these types of fields, double-click the specific cell you want to edit and it will transform into an input field.
Modify the data as required, then click out of the cell, or move on to the next cell. You can also press the “Enter” or “Return” key on your keyboard to update a cell after making changes.
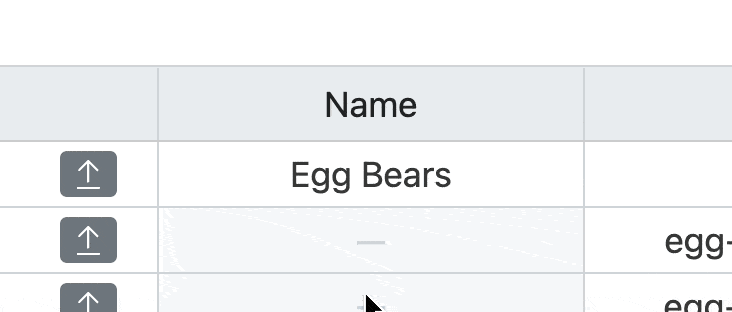
When a cell is highlighted, you can navigate between them using the arrow keys on your keyboard.
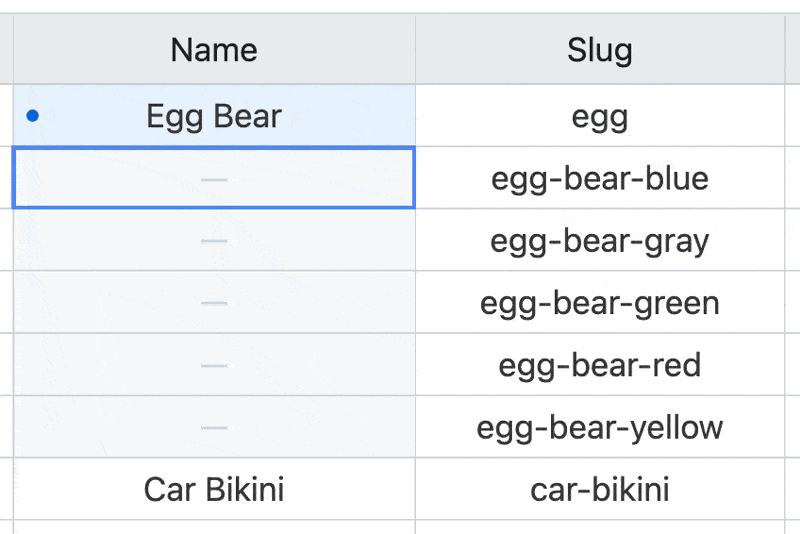
When a cell has been modified, you will see a blue dot next to the data within the cell. This allows you see all of the pending changes from your current session.
Take a look at our other docs for how to edit special cells like Images.
Saving Your Changes in Bulk
Once you’re happy with all of your pending changes, you can save them and update your site with one click.
After you’ve made any change, the Save Changes button becomes active at the top of the spreadsheet. Click that and your changes will be pushed to your site in a matter of seconds.
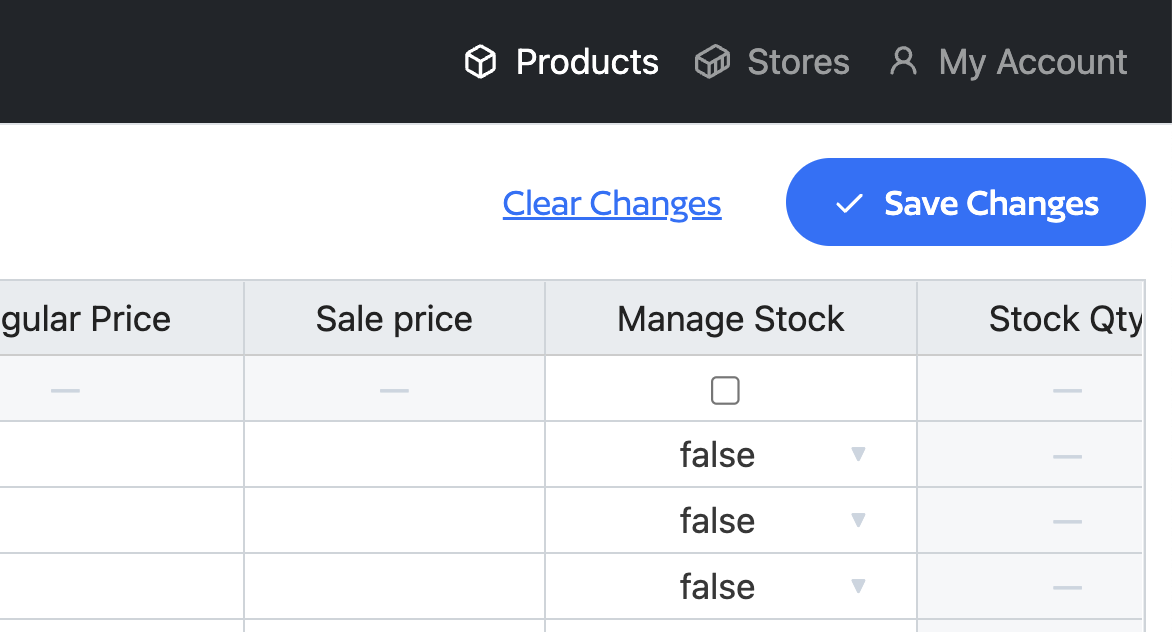
If you want to cancel all of your modifications, click the Clear Changes link next to the Save Changes button.