
Importing pages, posts or ecommerce products from CSV into Setary can be very helpful. Fortunately you can do this all within Setary.
Shopify note: Setary’s import tool is identical whichever platform you’re connected to, so this process is the same for Shopify and WooCommerce.
There are many different reasons you’d need to import, but the two main approaches are adding NEW content, or overwriting existing content in order to update it. Let’s get started.
But first, do you really need to perform an import at all? The Setary spreadsheet lets you quickly add new rows or duplicate existing rows in order to quickly create new posts, pages, products, and variations. This can be much easier than manually preparing a CSV file for import. However, if you definitely need to import from CSV, then keep reading for full instrcutions.
1. Click Add and Import Products
Find the .CSV file on your local computer. This file will need to be in CSV format, but can be formatted however you wish.
A little tip: if you are editing existing data, we would advise to export WooCommerce products first, and then modify and then import. This way columns are already matched up making this process a lot easier. If this isn’t possible then the next step is to sync columns.
2. Sync columns
The next step is to match your CSV data to the Setary data.
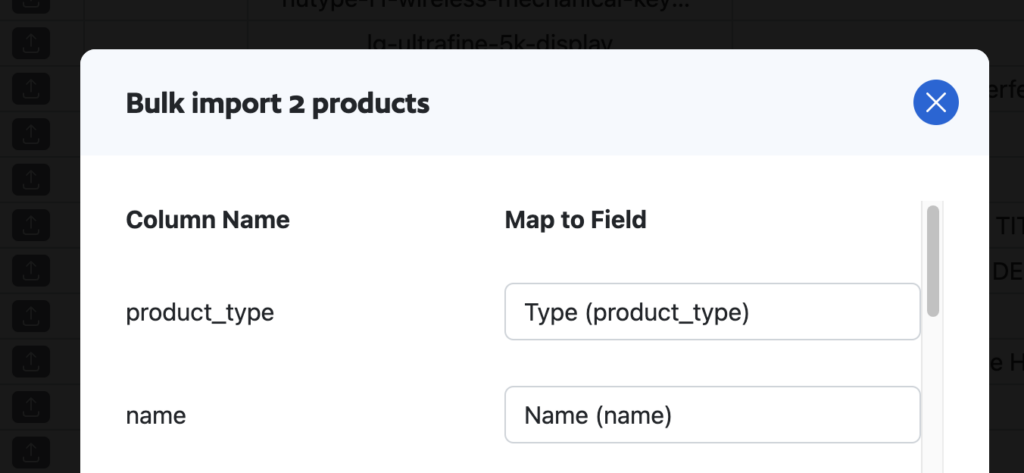
On the left are the Column Titles from your Spreadsheet and the right is the columns that are currently within your Setary view. We will automatically try to match these up, but if not, they will just default to skip, if you don’t have many columns within your Setary view, then most columns will skip.
It’s important to mention, that if you want the imported items to merge with existing content then it’s essential to match the database ID or SKU, otherwise content will be imported as new posts/pages/products, potentially creating duplicates.
Spend a lot of time at this stage as it’s important to get right and will save you time making corrections later.
Once imported all data will be added above the existing data regardless of whether you are merging data, the merge happens at the next step. Setary should now look something like this:
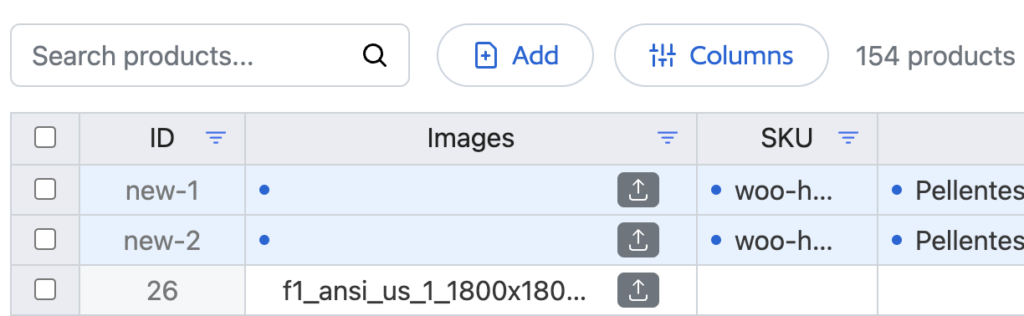
The beauty of this, is you can now double check your data and make changes if required, nothing has been imported at this point so you can still clear changes if something isn’t right.
3. Import Products
You’re now ready to actually import the products, this will be a familiar process of just clicking SAVE. All updates will now be applied. Any products that required a merge, will merge and any new products will be added.
All done, you’ve just imported products!