
If you need to add a lot of posts to a WordPress site, or products to a WooCommerce store, then this can normally be very time-consuming. However, luckily Setary makes this easy as you can do it in the bulk edit spreadsheet.
Shopify note: This works the same on Shopify and WooCommerce.
1. Add or duplicate rows
The Setary spreadsheet lists your existing content in a spreadsheet with one item per row. Each row might be a page, post, custom post, WooCommerce product, product variation, etc. (depending on what type of content you’re currently editing). To add new content, either:
- Select and duplicate an existing row.
- Create a new blank row.
If you’re creating a blank row, then first you need to enter the number of items that you wish to add. Click Add and then select the quantity.
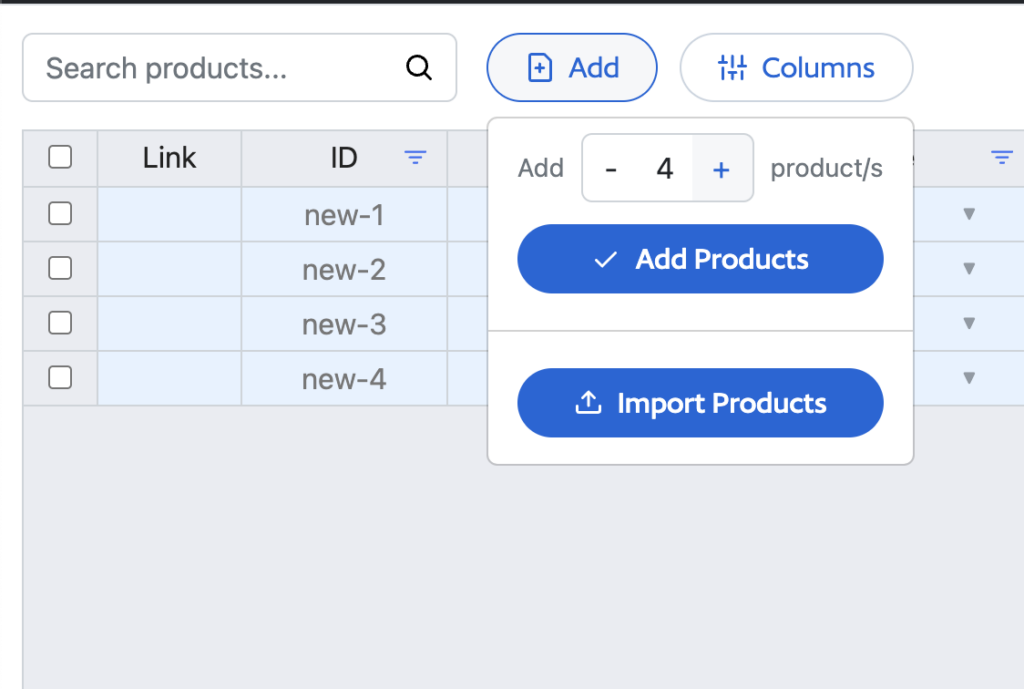
These will then be added in with a temporary ID of new-1 etc as we don’t currently know the post ID that WordPress/WooCommerce will set when it’s saved to your live site.
2. Input your product data
You can now input the correct data for all the items you have added. Don’t worry, you can always update this after save, but just remember the items you’ve added, as once saved the data will be sorted again and the new rows will move within the spreadsheet view to honour any sorting that is set by Setary.
Technically, only NAME is a required field and then everything else is default set.
If you wanted to connect data (e.g. to connect new product variations to a parent WooCommerce product) then you would need to use the temporary ID names, for instance a parent product.
Note for WooCommerce stores: Product Type cannot be set initially. This is done post-save, so you can set the status to draft first and then set the product type after saved.
3. SAVE!
Your new content has now been added. Your ID’s have now been populated and you can make any further amends where needed. Remember, your new content will be in the filter/sorted flow of Setary, so they will disappear from the top of the list and appear in the appropriate order.