
This guide will show you how to connect your WordPress site or WooCommerce store to Setary.
Note: Using Shopify? You don’t need a helper plugin. See How to Connect Your Shopify Store instead.
- Go to the Setary app.
- Click “Sites” in the app navigation.
- Click “Add Site”.
- Follow the steps below.
Step One: Install the Setary Helper Plugin
- Download the Setary Helper plugin.
What’s this? This is a lightweight helper plugin that enhances the WordPress and WooCommerce endpoints, making it easier for Setary to pull products from your store and update them in a performant way. - Install the Setary Helper plugin on your store:
- Login to your WordPress admin area.
- Navigate to Plugins > Add New.
- Upload the plugin zip.
- Click Activate.
Step Two: Connect Your Site
- Navigate back to the Setary App.
- Click Sites from the main navigation.
- Click Add Site.
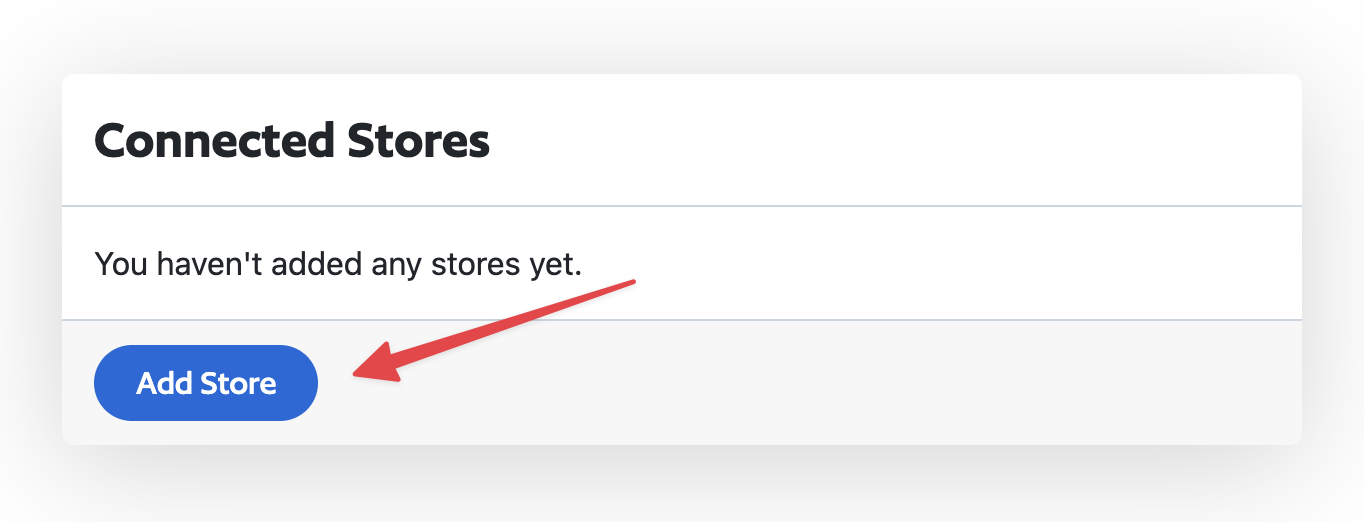
- Select WooCommerce or WordPress. WooCommerce sites can still edit WordPress data using this route. If your site does not use WooCommerce, select WordPress.
- If selecting WordPress you will need to enable what content types display within Setary, from your WordPress website, click Settings > Setary and enable content-types you’d like to edit. WooCommerce users can also do this but it’s not required.
- Enter the URL of your site into theURL field.
Note: this should be the base URL of your WordPress installation. For example, if your store URL is https://my-website.domain/store/, you should enter https://my-website.domain/ into the field.
- Click Add.
- At this point, you will be redirected to your store and prompted to accept the connection by WordPress/WooCommerce. Click Approve. If you do not get redirected and you see an error you can either add your site manually or test if your host is blocking Setary, you can read more about troubleshooting here.
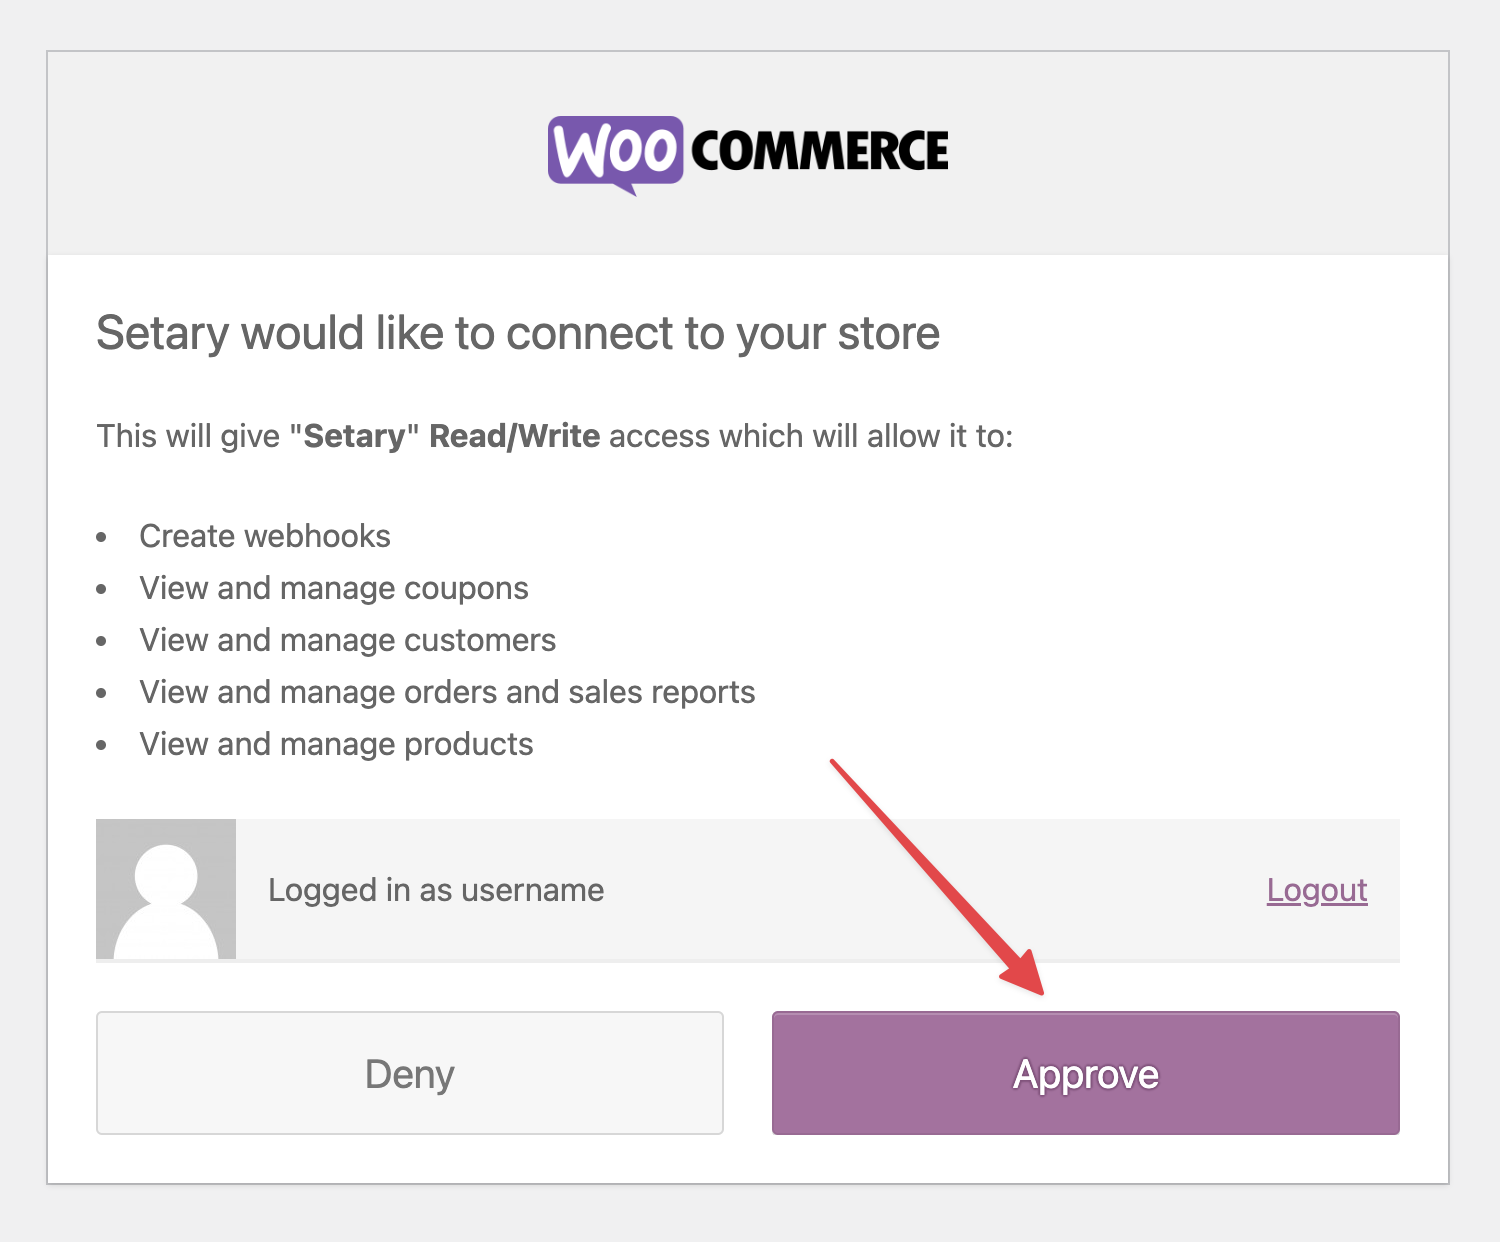
- You will now be redirected back to the app, and your site should have been added successfully.
- Use the main navigation to access a spreadsheet view of all of your content.
Your site should now have been successfully added.
Advanced: Connect Manually with API Keys
If the automatic connection above does not work (for example, if your host blocks the redirect), you can connect a WooCommerce store manually using API keys. You will still need the Setary Helper plugin installed, as covered in Step One above.
Create API keys
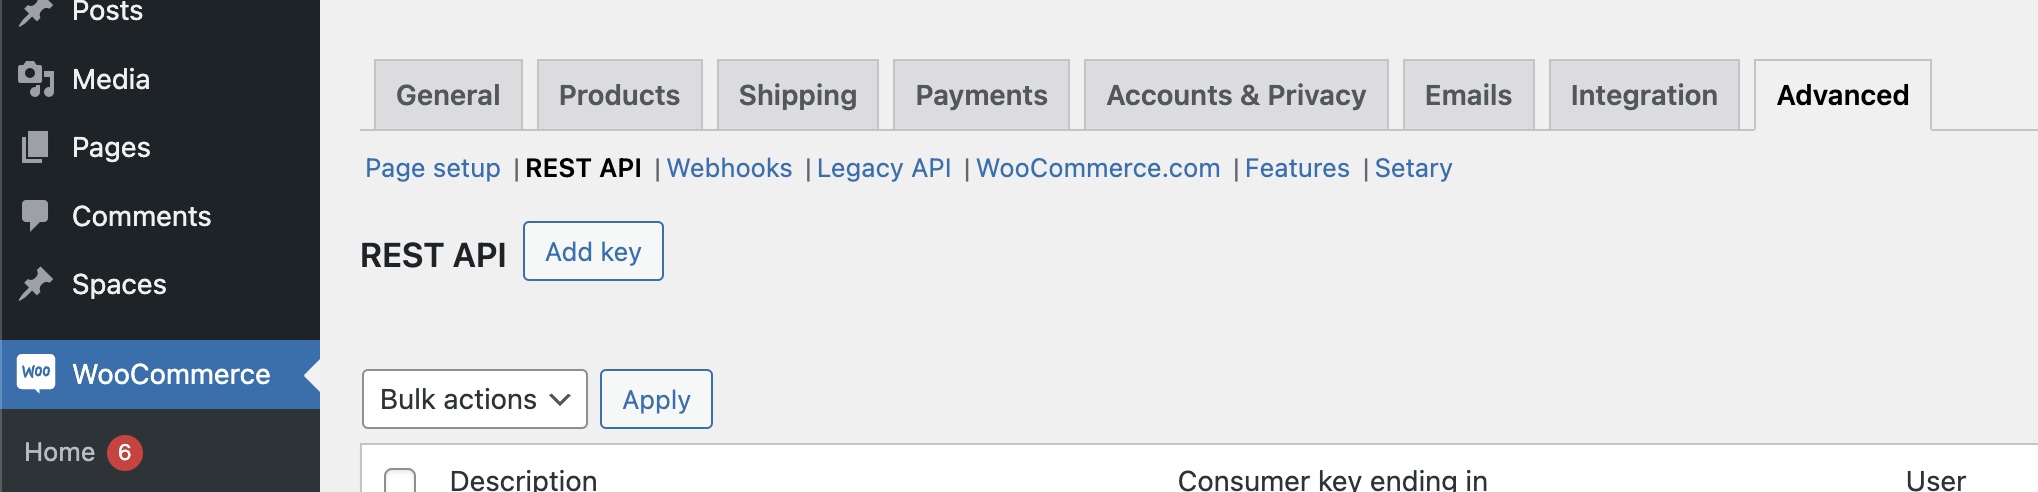
- In your WordPress admin, go to WooCommerce > Settings > Advanced > REST API.
- Click Add Key.
- Set the name to Setary (or anything you like).
- Change permissions to Read/Write.
- Click Generate API key. You will use these two keys in the next step.
Connect your store
- Go back to the Setary app, click Sites, then Add Site.
- Enter the URL of your store into the URL field.
- Click add keys manually.
- Enter the two keys you generated above, then click Add.