
Most Shopify stores grow into their collection structure by accident. A few collections become a few dozen, products get reassigned manually, and what started as a quick tidy-up turns into an afternoon of clicking 😫
When merchants search for how to bulk edit collections in Shopify, they usually mean one of two different things:
- Editing the properties of the collections themselves (titles, SEO fields, sort order), or;
- Controlling which products appear inside each collection.
Both problems need different solutions. This guide covers every method that actually works, ranging from Shopify’s built-in features to using Setary’s fast bulk editing spreadsheet for collections.
What “Bulk Editing Collections” Actually Means in Shopify
It’s worth separating these two tasks before picking a method. Editing collection properties means updating fields like the title, URL handle, or meta description across multiple collections at once. On the other hand, controlling product membership means adding or removing products from collections at scale. Most merchants searching for how to bulk edit collections in Shopify want the second option — they need to move products between collections efficiently, not just rename things.
This distinction matters because the right tool for each job is different. Shopify’s native bulk editor handles collection properties reasonably well. For assigning products to collections, it starts to fall apart above 100 products. Understanding which problem you’re solving will save you a lot of time.
Method 1: Edit Collection Properties in the Shopify Admin
Shopify’s built-in bulk editor covers the basics. Navigate to Products → Collections, select the collections you want to update, and click ‘Bulk edit’.
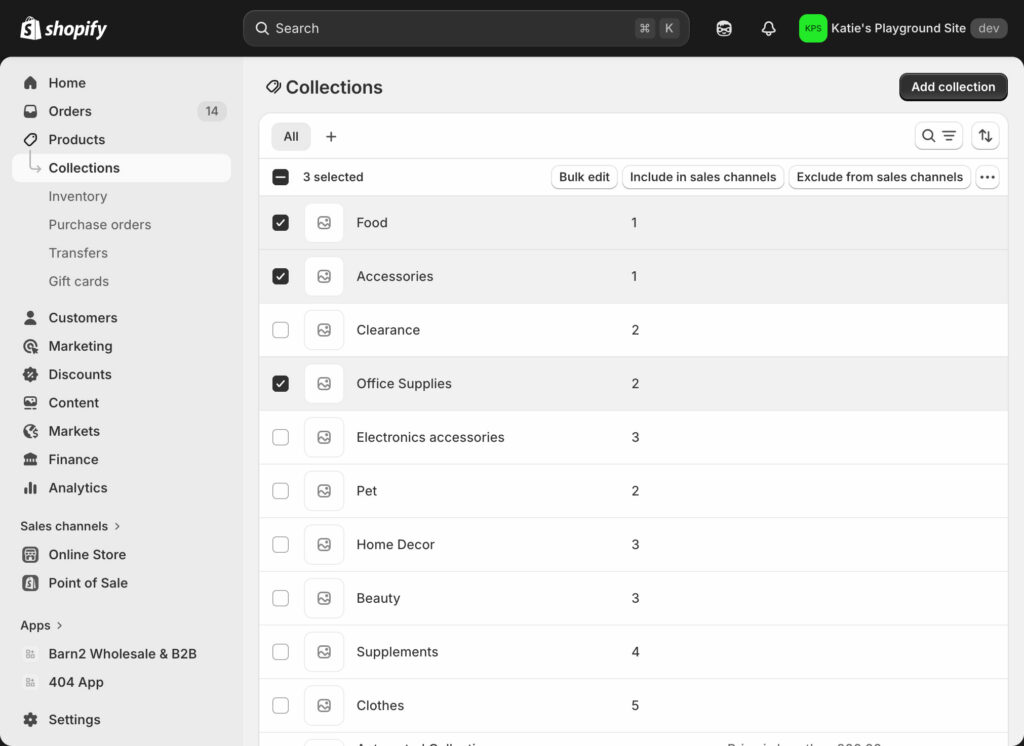
You’ll get a spreadsheet-style view where you can edit:
- Title and sort order.
- Template assignments.
- Sales channel visibility (Online Store, Point of Sale).
- SEO fields: page title, meta description, and URL handle.

This is fine for presentation changes across a small number of collections. It’s not useful for managing which products belong where. If that’s what you need, skip ahead to Method 2 or Method 3.
Method 2: Bulk Add Products to Collections Natively
Manual Bulk Add
To add multiple products to a collection at once, go to Products → All Products, select the products you want, and choose ‘Add to collections’ from the actions menu. Then select the target collections.
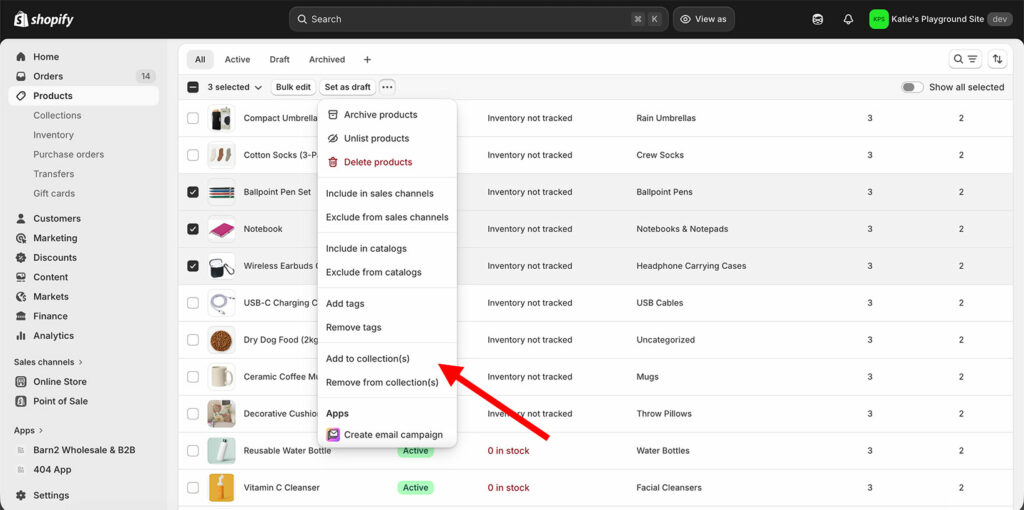
This works well for occasional updates on a small catalog. Past about 100 products, it becomes painful. Shopify paginates at 50 products per page, so there’s no way to select your entire catalog in one operation. There’s also no undo and no preview — changes apply live the moment you click 😬
Automated Collections
Automated (or “smart”) collections automatically add products that meet specified conditions. To set one up, go to Products → Collections → Add collection and set the ‘Collection type’ to ‘Smart’. You can then define rules based on product tag, vendor, product type, price, or metafield.
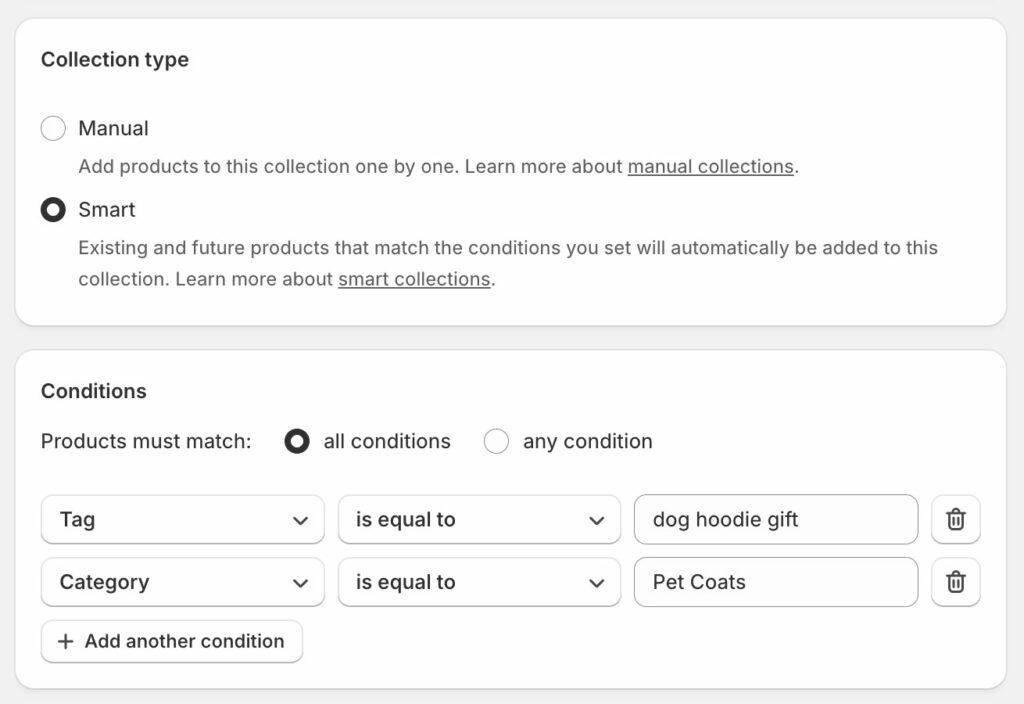
For the right use cases, this is the most efficient approach. A “Summer Sale” tag applied to any product will automatically pull that product into your summer sale collection, with no manual assignment needed.
The limitation is the precision of the logic. You can match products with an exact tag like “winter-pets”, but you can’t match all products with tags containing the word “pet”. You’d need to enter every matching tag individually, which defeats the purpose for complex catalogs. For that kind of filtered assignment, a tool like Setary gives you more control.
There’s a broader problem too. Native tools hit their ceiling fast. There’s no way to see all your collection assignments in one view, no way to audit which products are missing from which collections, and no undo if something goes wrong. For stores where collection management is an ongoing task, the native admin wasn’t built for that volume.
Method 3: Bulk Edit Shopify Collections with Setary
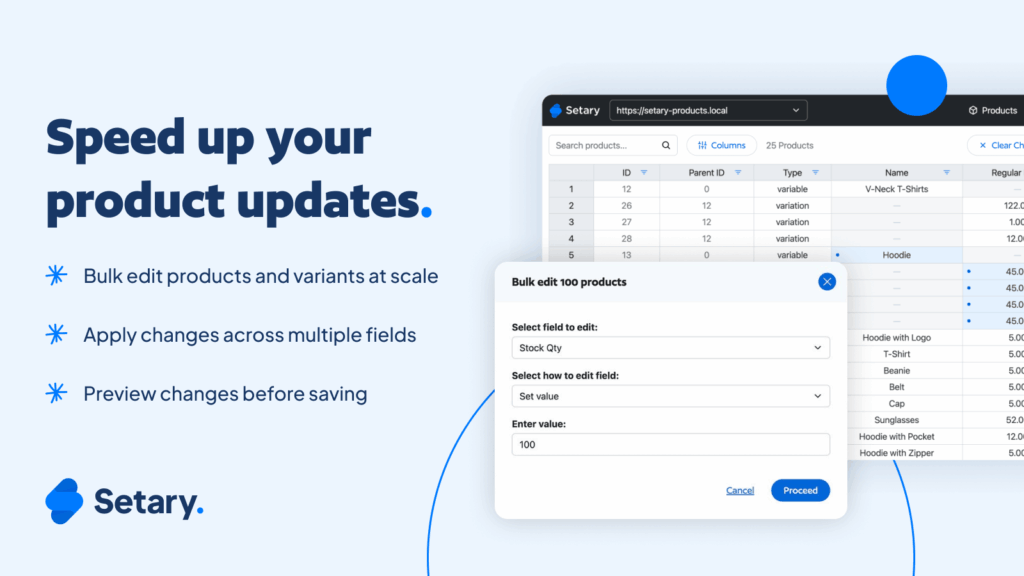
Setary is a spreadsheet editor that connects directly to your Shopify store. It’s built specifically for the kinds of bulk operations that break down in the native admin — including collection management at scale.
What Setary Does for Collection Management
With Setary, you can filter your entire product catalog by any combination of fields — tag, vendor, product type, collection, or any metafield — and then assign or remove collections across the filtered selection in one action. Changes sync live to your store. There’s a preview step before anything goes live, and an undo option if you change your mind.
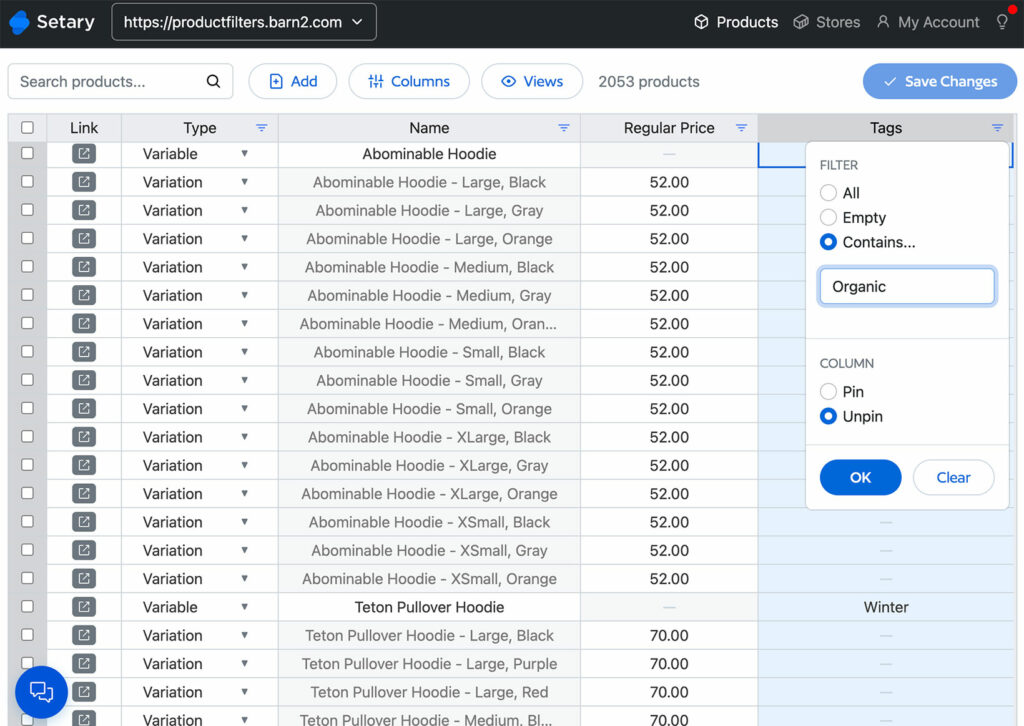
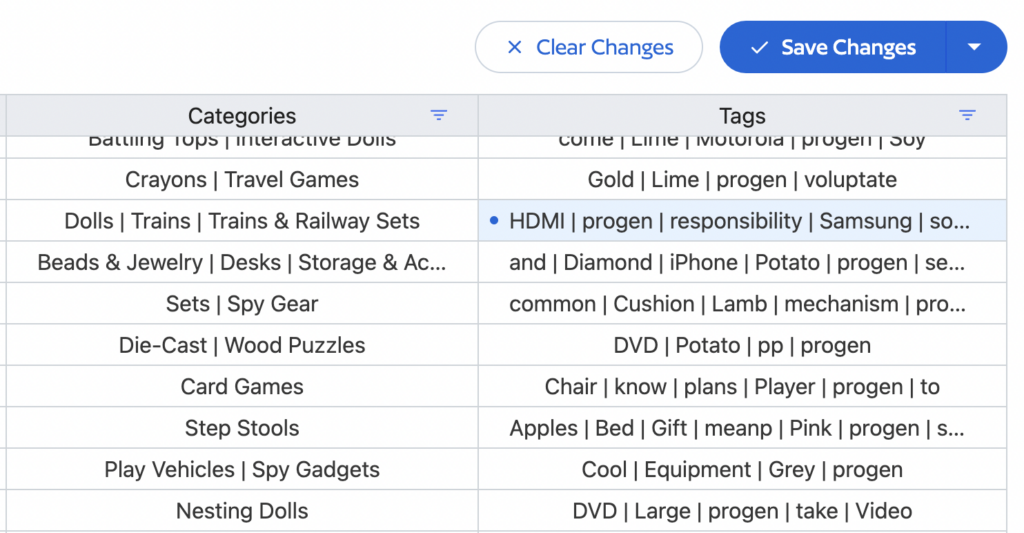
This is particularly useful for managing the tags that drive automated collection membership. If you bulk edit Shopify tags efficiently, your smart collections update themselves automatically. Setary’s spreadsheet view lets you see tags and collection assignments side by side, so you can catch gaps and inconsistencies at a glance.
You can also bulk edit Shopify metafields in the same session. For stores that use metafield-based conditions in their smart collections, this is a meaningful time saver.
Why the Spreadsheet Approach Scales Better
The 50-product pagination wall in the native admin means a 500-product update requires ten separate editing sessions. Setary has no pagination limit. You can filter, select, and act on your entire catalog in a single view.
The familiar spreadsheet interface also means almost no learning curve. If you’ve used Excel or Google Sheets, you can start editing straight away. And unlike Shopify’s native bulk editor, which applies changes immediately with no rollback option, Setary lets you preview before committing. One wrong move in the native admin means manual cleanup. In Setary, it means clicking undo.
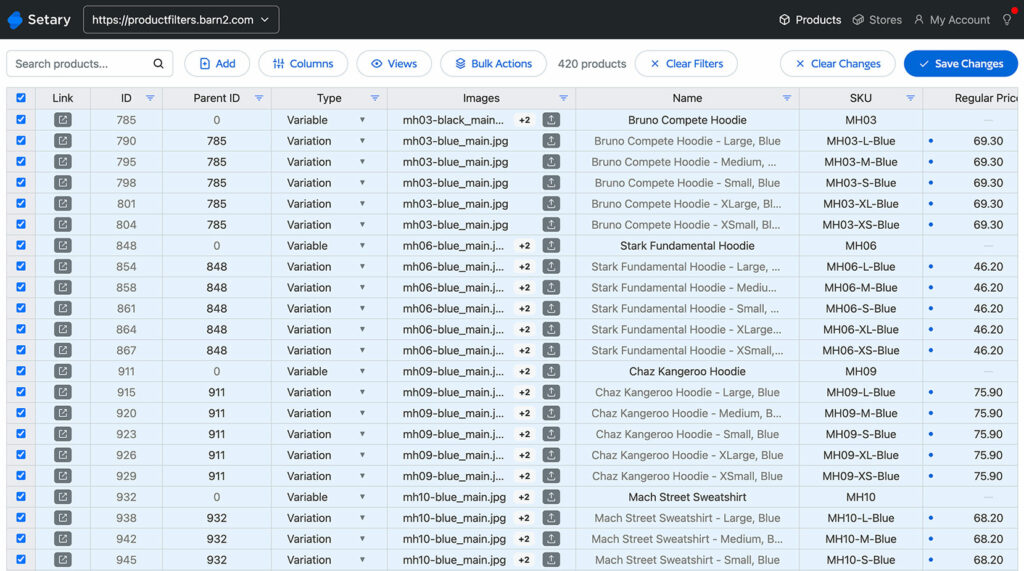
Bulk actions speed things up further. Instead of editing the collections column row by row, you can select a filtered set of products and apply a collection assignment across all of them simultaneously. Seasonal reorganizations that used to take half a day take minutes.
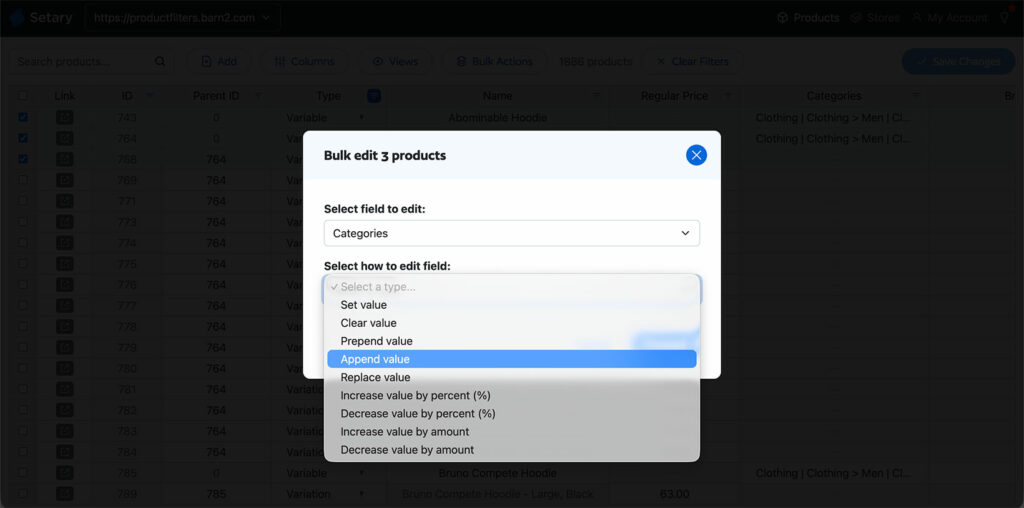
When Setary Makes the Most Sense
If you manage collection assignments more than occasionally — e.g. seasonal updates, rotating promotions, or weekly catalog changes — then Setary pays for itself quickly. The same applies if your catalog runs into the hundreds or thousands of products. For stores where bulk editing Shopify products is already part of the workflow, adding collection management to that same session is a natural fit.
You can also bulk edit Shopify variants, which matters for stores where variant-level data (like a specific color or size tag) controls collection membership.
Method 4: CSV Import for Large-Scale Reorganizations

CSV is worth considering for specific scenarios. It’s not convenient, but for a one-time migration or a major catalog restructure, it can handle data volumes that no admin tool manages well.
When CSV Makes Sense
- Migrating from another platform, where you’re importing everything fresh.
- A major catalog reorganization that involves a developer and won’t need to be repeated.
- Combining product data from multiple external sources into a single import.
The Basic CSV Workflow
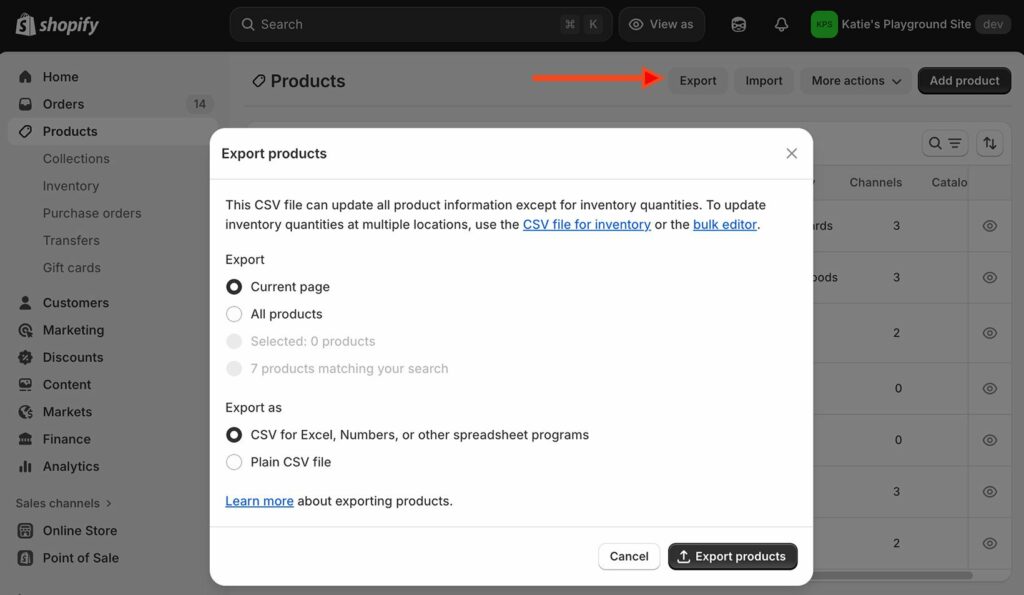
- Export your products from Products → Import/Export.
- Add a ‘Collection’ column to the exported file, or update the existing one.
- Enter the correct collection name for each product row.
- Import the file and select the option to replace existing products with the same handle.
Find-and-replace in Excel handles mass updates quickly — swapping a vendor name across thousands of rows takes seconds. However, the rest of the process is less forgiving. For example, blank cells delete existing data. Large imports can take 30 minutes or more to process. Error messages are often vague, and troubleshooting a failed import means starting over from scratch.
I always recommend backing up your store data before a CSV import. Test with a small number of products first. If the structure isn’t right, you’ll find out quickly without corrupting the full catalog.
For tasks that you need to do more than once, CSV is the wrong tool. That’s because the export → edit → upload → check → fix → repeat cycle eats more time than it saves. Setary’s live sync and undo features make regular collection management significantly safer and faster. Check out Barn2’s article comparing tools to bulk edit Shopify collections if you want a deeper look at how these methods stack up.
Other Apps Worth Knowing About
For niche scenarios outside regular collection management, a few specialist apps are worth flagging:
- Matrixify — Best for full store migrations with preview functionality before applying changes.
- Ablestar Bulk Product Editor — Useful if you run weekly flash sales and need scheduled price changes with a one-click rollback.
- Shopify Flow — Auto-assigns products to collections based on rules and triggers, without manual intervention.
These are genuinely good tools for the specific jobs they were built for. However, I find that they’re either too complex or too specialized for day-to-day collection management. Setary handles the most common use cases in a format most merchants already know how to use.
How to Choose the Right Method
The right approach depends on how often you manage collections and how many products are involved. Which of these categories best fits your needs?
- Occasional small updates (under 100 products) — Shopify’s native tools are fine. Use the bulk editor for collection settings, or tag products for automated collections.
- Regular collection management or large catalogs — Use Setary. Weekly updates, seasonal reorganizations, and catalogs over a few hundred products all benefit from the spreadsheet view, live preview, and undo.
- One-time platform migration — CSV or Matrixify. Neither needs to be part of your ongoing workflow.
One thing worth keeping in mind is that most collection management is really product data management. Get the tags and metafields right on the product side, and your automated collections will update themselves. Setary handles both in one place, which is why it’s the most efficient option for stores that take their catalog organization seriously.
If you’re spending more than an hour a week on collection updates in the Shopify admin, it’s worth trying Setary. Get started here.
Bulk edit anything in WordPress, WooCommerce and Shopify
Try our demo now and discover how you could save thousands of hours managing your site.
or try the demo