
Tags are one of those Shopify features that seem simple until they aren’t. You add a few labels to your products, set up some smart collections, and everything works. Then your catalog grows to 500 products. A team member tags things differently from you. A seasonal sale needs 800 products tagged by tomorrow. Suddenly, Shopify’s built-in tools feel like they were designed for a store with 20 items 😫
The pain isn’t the tagging itself. It’s that there’s no built-in fast, safe way to bulk edit Shopify tags at scale. The native editor caps out at 50 products. CSV imports risk breaking your data. And there’s no undo if something goes wrong.
This guide covers how to manage Shopify tags efficiently at every catalog size. We’ll walk through the native tools and their limits, and explain when CSV imports make sense. Then we’ll show how we built Setary to handle the bulk tag editing that Shopify can’t.
Why Shopify Tags Matter More Than You Think
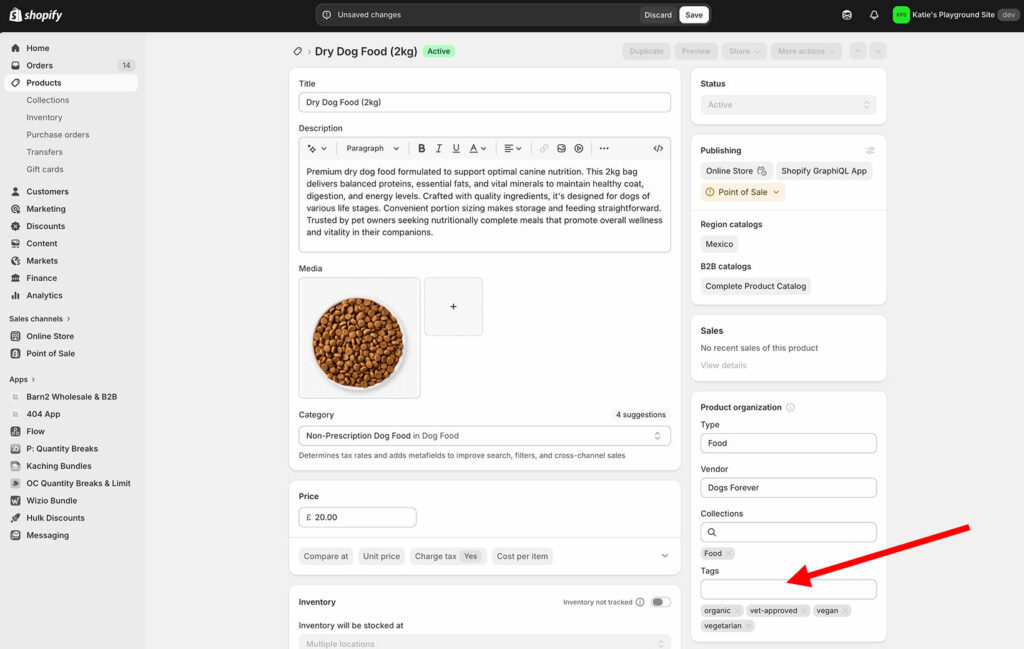
Shopify tags are short labels attached to products, orders, customers, and blog posts. They’re easy to overlook, but they quietly control some of the most important parts of your store.
Smart collections use tags to automatically group products. A tag called “summer-sale” can populate an entire sale collection without you touching it. Discount codes can target tagged products, so your “WELCOME10” code only applies to items tagged “discount-eligible”. Internal search uses tags to surface relevant results. Customer segmentation relies on tags for targeted email campaigns and marketing automations.
The problem is that tags degrade silently. One team member uses “Summer Sale” while another uses “summer-sale” and a third uses “summersale”. All three look similar, but Shopify treats them as separate tags. Your smart collection only pulls products with the exact tag it’s looking for, so two-thirds of your sale items never appear.
I find that tag inconsistency is one of the most common reasons for broken collections and discount codes that don’t apply correctly. It also causes search results that miss products entirely. The fix is almost always a bulk tag cleanup, which brings us to how Shopify actually lets you do that.
Shopify Tag Rules You Need to Know Before Bulk Editing
Shopify tags have specific constraints that affect how you can bulk edit them. Understanding these before you start prevents costly mistakes.
- Each tag has a 255-character limit.
- You can use letters, numbers, and hyphens.
- Accented characters and symbols can exclude products from search results, so it’s safer to stick to basic characters.
- Every product can hold up to 250 tags, though most stores use far fewer.
- Tags are comma-separated, and Shopify treats them as case-insensitive. For example, “Sale” and “sale” are the same tag, which at least prevents duplication from inconsistent capitalization.
The most important rule for bulk editing: tags immediately affect smart collections when changed. If you remove a tag from 200 products, those products instantly vanish from any smart collection using that tag. There’s no confirmation step and no delay.
Before any bulk tag editing session, I’d recommend establishing naming conventions. Use prefixes like “season-summer”, “promo-bogo”, and “type-accessory” to keep tags organized and allow easier filtering later.
How to Shopify Bulk Edit Tags With Native Tools
Shopify’s built-in bulk editor is free and available on every plan. Here’s the process:
- Navigate to Products in your Shopify admin.
- Select up to 50 products using the checkboxes.
- Click Bulk edit at the top of the page.
- Click Columns and add the ‘Tags’ column to your view.
- Type tags into each cell, separated by commas.
- Click Save to apply changes to your live store.
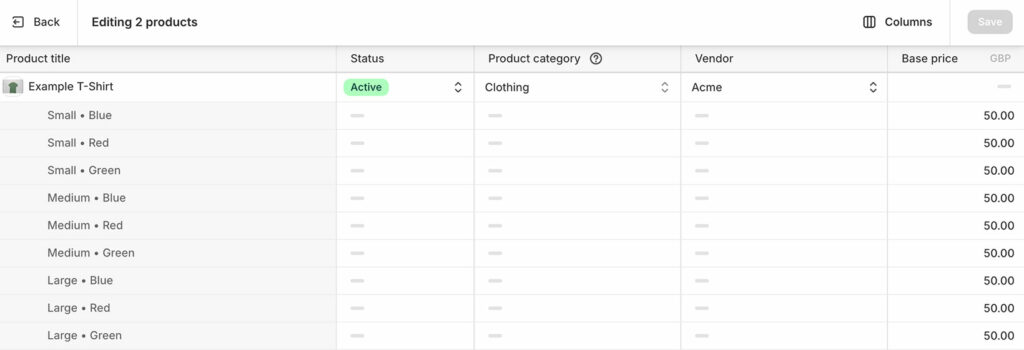
You can also copy-paste with Ctrl+C and Ctrl+V, or drag the cell handle to fill adjacent rows. Ctrl+click lets you select multiple cells and type once to fill them all.
Limitations of Shopify’s built-in bulk tag editor
The default bulk editor works fine for quick updates on small batches. However, there are significant limitations that become painful as your catalog grows:
- 50-product ceiling – You can only edit 50 products per session. A 1,000-product update means 20 separate rounds of selecting, editing, and saving.
- No search-and-replace – Renaming “summer-2024” to “summer-2025” across your catalog means editing every product manually.
- Limited filtering – You can filter by vendor, tag, status, type, collection, sales channel, and catalog before opening the editor. But you can’t filter by attributes, price range, inventory level, SKU, or metafields. There’s no way to find “all products over 5kg” or “all items priced under $10” to tag them.
- No smart bulk actions – The editor doesn’t offer actions like ‘Append value’ or ‘Replace value’. Every paste and drag action overwrites existing tags entirely, with no way to add a tag to what’s already there.
- No undo – If you accidentally paste over the wrong products, there’s no rollback. You’ll recreate lost tags from memory.
- No saved setups – You can’t save your column and filter combinations. You have to modify the layout from scratch every editing session.
For stores under 50 products with simple tag structures, the native editor does the job. Beyond that, you’ll need a different approach. We’ll talk about those options next.
Bulk Editing Tags via CSV Import
CSV exports remove the 50-product limit. You export your entire catalog, edit the ‘Tags’ column in Excel or Google Sheets, and reimport the file.
This approach seems appealing because you get full find-and-replace across thousands of rows. You can use Excel formulas to generate tags from other columns, like combining vendor and product type. Also, there’s no product limit.
However, CSV imports into Shopify come with serious risks:
- Encoding errors and formatting issues cause import rejections regularly.
- You can’t import just the tags column. Shopify requires you to reimport entire product data.
- Error messages are often vague, making troubleshooting difficult.
- There’s no undo, and a bad import means manual cleanup.
- The process requires solid spreadsheet skills and careful file handling.
CSV imports can work for one-off migrations or large restructuring projects where you’re comfortable with the risks. For regular maintenance of your Shopify tags, though, the danger-to-convenience ratio is too high. One encoding error can corrupt tags across your entire Shopify catalog with no easy way to reverse it.
How We Built Setary to Solve Bulk Tag Editing
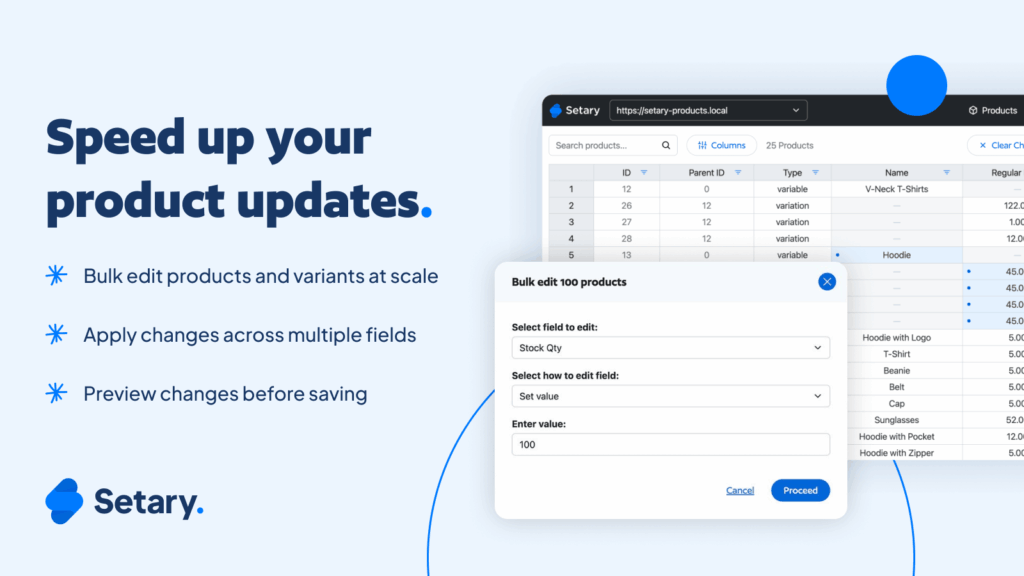
We built Setary for Shopify because we kept hearing the same frustrations from merchants. They were frustrated about the limitations of the native editor, the risks of CSV imports, and issues with existing third-party apps.
Setary takes a different approach. It’s a live spreadsheet that connects directly to your Shopify store. Your products load into a familiar Excel-like grid, and every edit saves to Shopify instantly. There’s no exports, no imports, and no waiting for jobs to process.
You can bulk edit Shopify tags alongside any other product data from the same screen including prices, inventory, variants, metafields, descriptions, and more. But specifically, the tag management features specifically address each gap in the native editor:
Search-and-replace across your entire catalog. Found a misspelled “clearence” tag on hundreds of products? One find-and-replace fixes it in seconds. There’s no need to rename “summer-2024” to “summer-2025” store-wide – just update the tag in one bulk edit action.
Filter by any product data. Setary doesn’t limit you to vendor, tag, and collection filters. You can filter by attributes, price range, inventory level, SKU, metafields, or any other field in your catalog. Want to tag every product under $10 as “budget”? Filter by price, select the results, and apply. You can save these filter and column combinations as reusable views, so your “seasonal tag cleanup” setup is one click away next time.
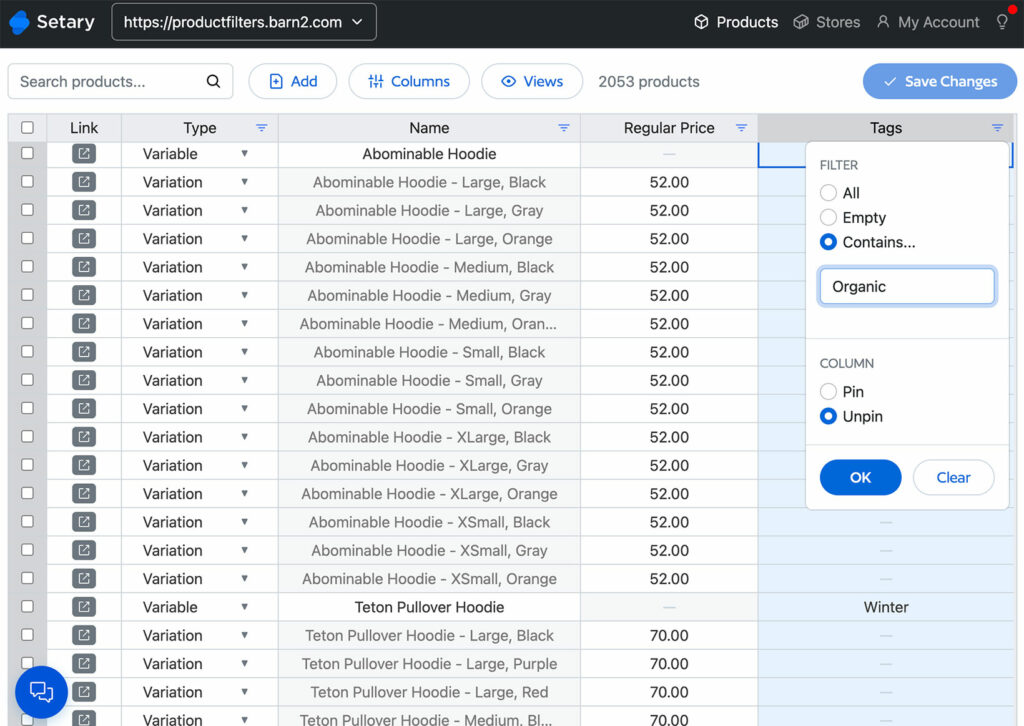
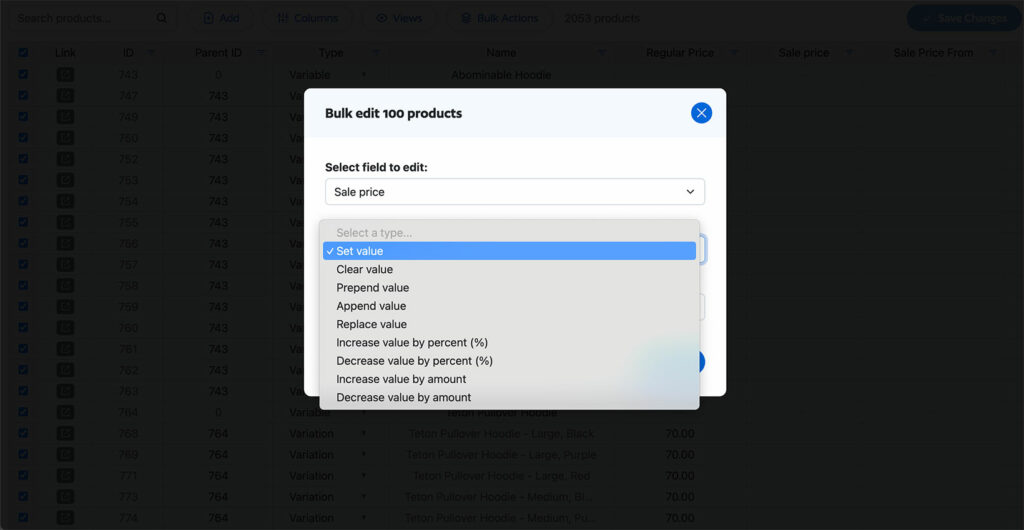
Smart bulk actions. Select the products you want to edit and choose from dedicated actions: ‘Set value’, ‘Clear value’, ‘Append value’, and ‘Replace value’. The ‘Append value’ action is the one merchants ask about most. It adds a new tag to existing ones instead of overwriting them, which is exactly what the native editor can’t do.
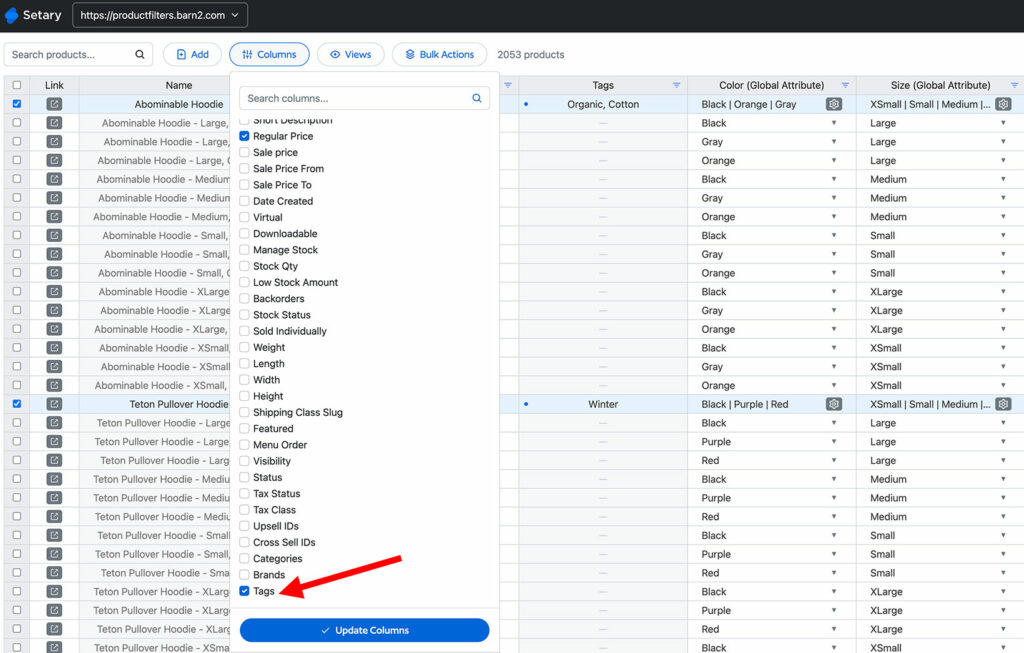
Variant tag editing. Edit variant-level tags alongside parent product tags in the same spreadsheet. No need to open individual product pages.
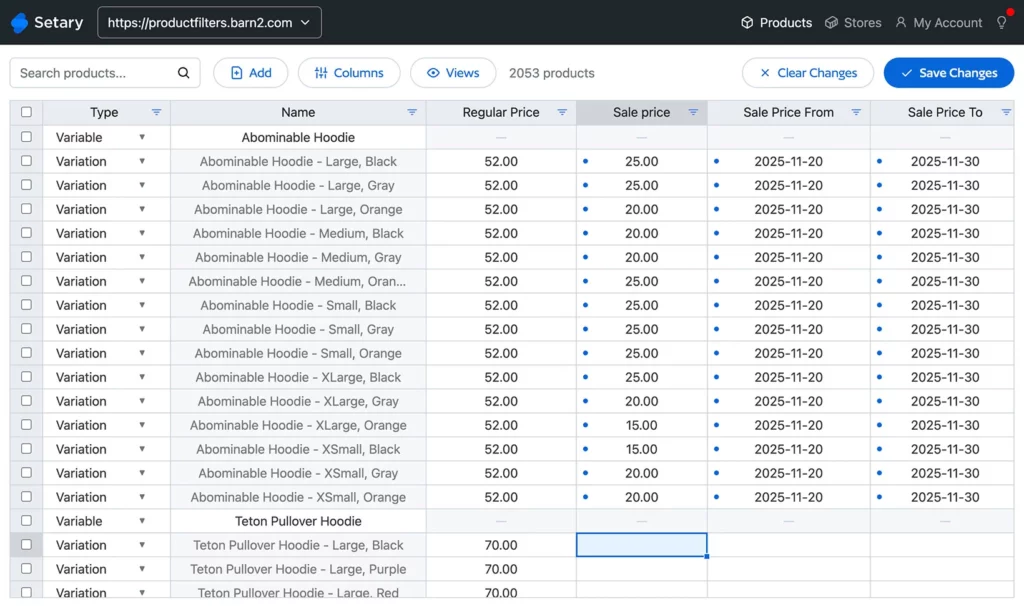
Unlimited products. No 50-product sessions. Load your entire catalog and work through it in one sitting.
Step-by-Step: Bulk Editing Tags in Setary
Getting started takes a few minutes:
- Sign up for a Setary account and connect your Shopify store.
- Your product catalog loads into the spreadsheet automatically.
- Click Columns and enable the ‘Tags’ column. You can also add any other columns you want to edit in the same session.
- Use filters to narrow down your products. For example, filter by a specific collection, then by inventory status.
- Edit tags directly in cells for individual changes, or select multiple products and use bulk actions for larger updates.
- Use find-and-replace for catalog-wide tag fixes like renaming or removing specific tags.
- Save your filter and column setup as a named view for quick access later.
Once you’ve updated your Shopify tags, preview the highlighted cells in the bulk edit spreadsheet to ensure everything is correct. You can then click Save to apply the tag edits to your live store.
“We regularly get large shipments of new inventory and updating quantity in stock and setting new prices in bulk has saved us a lot of time and makes intake much simpler, one screen to update it all at once.” – Daniel Iser, Setary user
Tag Management Best Practices
Good tag hygiene prevents most of the problems that lead to emergency bulk editing sessions. Here are the practices we recommend to our users:
Use prefixes for organization. Tags like “season-summer”, “promo-bogo”, and “type-accessory” are instantly sortable and filterable. Flat tags like “summer” or “sale” become ambiguous as your catalog grows.
Audit tags regularly. Unused tags clutter your store and make filtering harder. Set a quarterly reminder to review and clean up tags that no longer serve a purpose.
Avoid over-tagging. More isn’t better. Excessive tags per product can slow your storefront performance and make it harder to manage or bulk edit collections. Focus on tags that drive actual automations or customer-facing functionality.
Test before you scale. Apply tag changes to a small batch of 10 to 20 products first. Verify that smart collections, discount codes, and search results update correctly before rolling out to your full catalog.
Keep a tag dictionary. A simple shared spreadsheet listing approved tags, their purpose, and their format prevents the “Summer Sale” vs “summer-sale” inconsistency problem. This is especially important if multiple team members manage your catalog.
Start Bulk Editing Your Shopify Tags Today
The native editor works for tiny updates under 50 products. CSV imports handle one-off migrations if you’re comfortable with spreadsheet formatting risks. But for most stores that need to Shopify bulk edit tags regularly and safely at scale, a live spreadsheet is the fastest path to clean, consistent tags. Instant saves and undo protection make the difference.
That’s what we built Setary to do. Connect your store, load your catalog, and start editing. Every change saves instantly, every mistake is reversible, and you’ll never hit a 50-product wall again.
Try Setary for Shopify and see the difference for yourself.
Bulk edit anything in WordPress, WooCommerce and Shopify
Try our demo now and discover how you could save thousands of hours managing your site.
or try the demo