
Whether you’re backing up your catalog, moving to a new platform, or editing product data in bulk, knowing the fastest way to export Shopify products saves you real time.
Most Shopify merchants export products for one of three reasons: backup and migration, bulk editing, or syncing data with an external system. The built-in export tool handles the basics well. However, it has limits, which quickly become obvious when you need to include metafields or run exports regularly.
This article covers the fastest methods for each scenario — including how to export Shopify products to CSV, and when to skip the CSV export entirely.
How to Export Products in Shopify
A Shopify product export generates a CSV file containing your product data — titles, prices, SKUs, variants, and more. This is useful if you need to backup your files, analyze them in a spreadsheet for data purposes, or sync them with an external system. However, I don’t recommend it for making bulk edits because editing products in a CSV is error-prone and it’s time-consuming to export and then re-import them. If you need to do that, then it’s much better to use the Setary app to make instant bulk updates in a dedicated spreadsheet editor.
However, if you need to export Shopify products for other reasons, then here’s how to do it:
- Go to Products in your Shopify admin.
- Click Export at the top of the page.
- Choose which products to export: all products, the current page, or selected items only.
- Choose your file format: CSV for Excel, Numbers, or another spreadsheet program, or Plain CSV file for text editors.
- Click Export products.
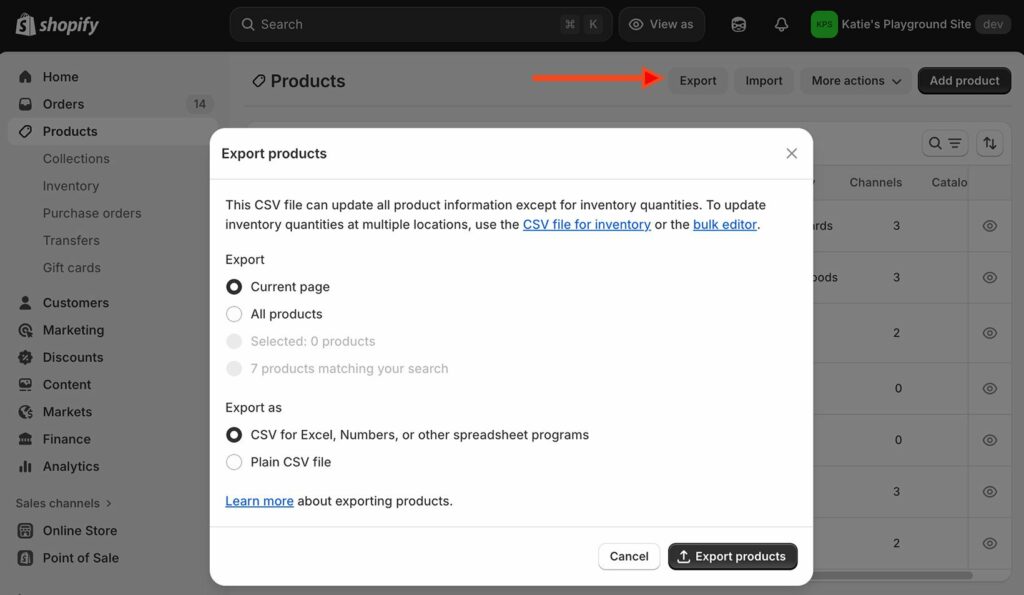
If all your products have fewer than 100 variants each, the file downloads directly in your browser. Otherwise, Shopify emails it to you (and to the store owner, if that’s not you).
One thing to know: product images are not included in the file. The CSV contains image URLs only. If your original store goes offline, those URLs will break — so don’t close the old store before you’ve copied the images over to the new one.
Filter Before You Export
Exporting your entire catalog when you only need a subset of products is a common time-waster. A full-catalog export on a large store is slower to generate and produces a much bigger file to work with.
Filter first. On the Products page, add filters by tag, product type, vendor, or status before clicking Export. Shopify will export only the products that match.
Practical examples of when this saves time:
- Exporting a single vendor’s products before a price renegotiation.
- Pulling all out-of-stock products for a stock review.
- Grabbing active products in one collection for a seasonal price update.
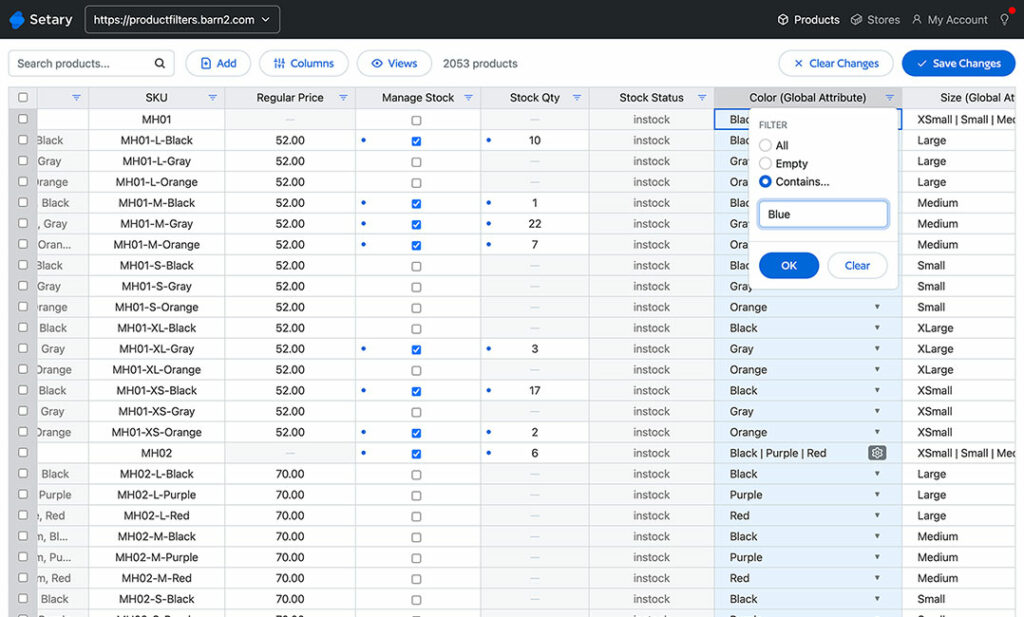
For more advanced filtering options, Setary’s bulk editor gives you far more control than Shopify’s native product list — you can filter by any product field before deciding what to export or edit.
How to Export Shopify Metafields
Shopify does include product-level metafields in CSV exports, but there are some important caveats to understand before you rely on this.
Product metafields are included automatically once they’ve been defined in your store. Each one appears as a column with this format:
Metafield: namespace.key
For example, a Fabric metafield would appear as:
Fabric (product.metafields.shopify.fabric)
To find the namespace and key for any metafield, go to Settings → Custom data → Products.
Variant metafields are a different story. They are not included in the standard product CSV export. To export variant metafields in bulk, you need to use the variant bulk editor in Shopify and add the relevant metafield columns there.
Rich text and reference metafields also need careful handling. The formatting for these types must stay intact during any bulk operation, or you’ll end up with broken layouts on product pages. I’d recommend testing changes on a small batch first.
If you regularly work with metafields, the Setary guide to bulk editing Shopify metafields covers the specific failure modes to watch for — including the append vs. overwrite problem that catches a lot of merchants off guard.
Common Export Problems (and How to Fix Them)
A few issues come up regularly when merchants export Shopify products.
File emailed instead of downloaded. This happens when products have 100 or more variants. Check your inbox, including spam.
Blank SEO fields. Shopify only exports the SEO title and description if you’ve manually edited them. Auto-generated fields don’t appear in the export. This is expected behavior, not an error.
Encoding issues. Open your CSV in Google Sheets rather than Excel. Excel’s default encoding can corrupt accented characters and currency symbols.
Sorted CSV breaks variant relationships. Sorting the file in a spreadsheet disassociates variants from their parent products. Filter to find what you need instead of sorting — and don’t sort the file before importing it back.
Images missing after import. The CSV contains image URLs, not image files. If you delete the original products before the CSV import is complete on the new store, the images won’t load.
The Export-Edit-Import Problem
The standard workflow sounds simple: export, edit in Excel, reimport. In practice, it’s where most of the time goes.
There’s a lot that can go wrong when you export and re-import products after editing their data. For example, column naming errors don’t trigger a warning. A misnamed column silently creates wrong data or a new column you didn’t want. There’s no preview before the import goes live, and there’s no undo if something is wrong.
Every round of changes requires repeating the entire cycle. For a one-off migration, that’s fine. However, it becomes a real drain for weekly price updates or regular inventory changes. A 500-product update that should take minutes can easily turn into an hour once you factor in export time, editing, checking the file, and reimporting.
Variant management adds another layer of complexity. Editing variants in the CSV requires them to be in a specific order relative to their parent product. Sort the file, and you’ll break that relationship. Bulk editing Shopify variants is genuinely fiddly via CSV, and errors are hard to spot until they’re already live.
A Faster Alternative: Skip the Export Entirely
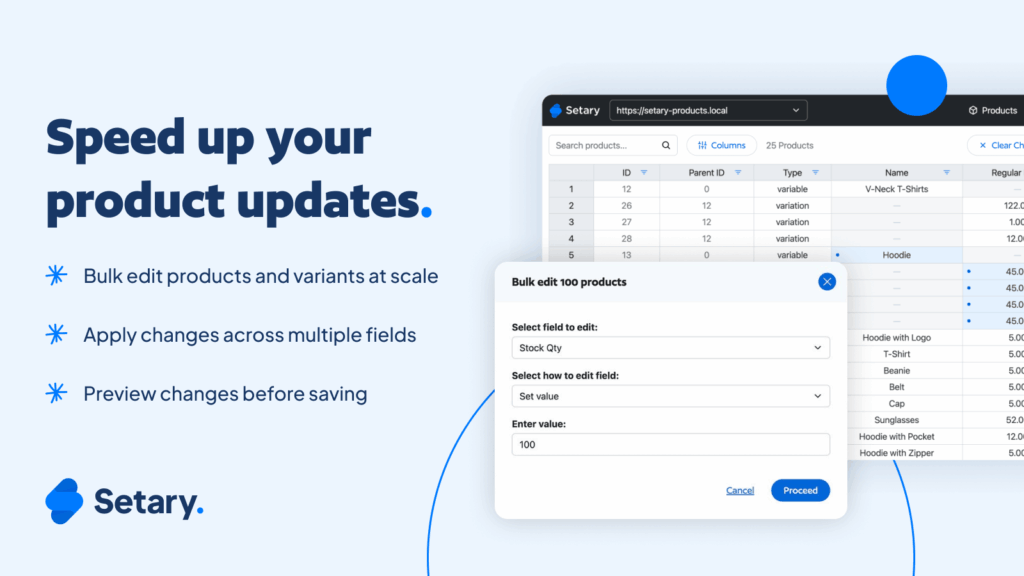
Setary connects directly to your Shopify store through the API. Your products appear in a live spreadsheet — no export required.
You filter, edit, preview, and save — all without generating a CSV file. Changes sync directly to Shopify, so there’s no import step and no column-formatting to worry about.
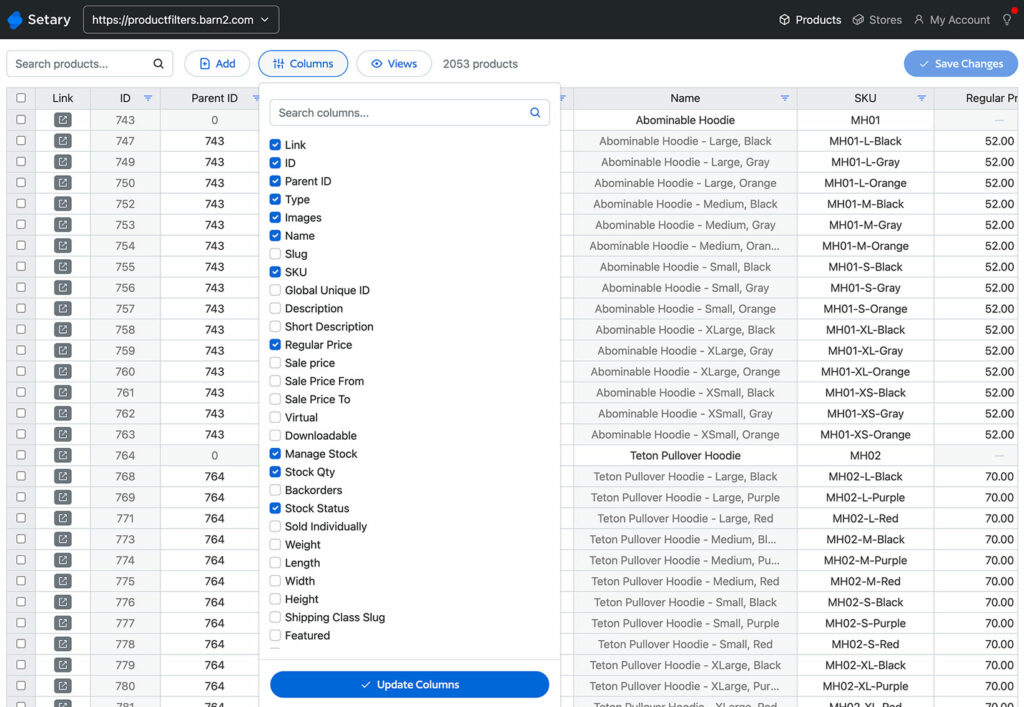
For metafields specifically, Setary handles append operations correctly. Adding values to list-type metafields adds to what’s already there instead of overwriting it. That’s one of the most common disasters with CSV imports, and Setary avoids it entirely.
Tag management works the same way. Bulk editing Shopify tags in Setary is much faster than the native editor’s 50-product limit, and there’s no risk of wiping existing tags with a misplaced drag operation.
Choosing between the built-in Shopify exporter and Setary
When is a CSV export still the right approach? I think it’s still useful for one-time store migrations, platform switches, or situations where you need to hand a file to a developer or an external system. For those cases, Shopify’s built-in export is perfectly adequate.
For everything else — any task you’ll repeat — the export-edit-import cycle costs more time than it saves. That’s where Setary comes into its own.
Choose the Right Method for the Task
Shopify’s native export works well for backups and one-off migrations. Filtered exports keep file sizes manageable and reduce editing time. For metafields, check whether your fields are product-level or variant-level before you start — the export behavior is different for each.
If you’re running the same export-edit-import cycle on a regular basis, that’s a sign the workflow has outgrown the tool. Setary’s live spreadsheet connection handles most of what merchants use CSV exports for — faster, and without the risk of a bad import going live on your store.
Bulk edit anything in WordPress, WooCommerce and Shopify
Try our demo now and discover how you could save thousands of hours managing your site.
or try the demo